
Quickstart
Create a project, write a few lines, and export your first PDF.
Цей контент ще не доступний вашою мовою.
Start with a document you actually need: a paper, a class report, or a resume. You can write and compile without configuring AI.
Install Oleafly
Section titled “Install Oleafly”Download the app (opens in a new tab) and open it. The installation guide covers each platform. No account is required.
Choose a starting point
Section titled “Choose a starting point”- Click New project in the library.
- Choose a template and document format. LaTeX is a good fit for established journal classes; Typst offers a compact typesetting language; Markdown suits prose with lightweight markup.
- Name your project, pick a cover color if you like, and create it. Without a pick, Oleafly chooses a color for you.
Already have source files? Import your project instead. For a paper with research notes and data, use a research starter.
Write and compile
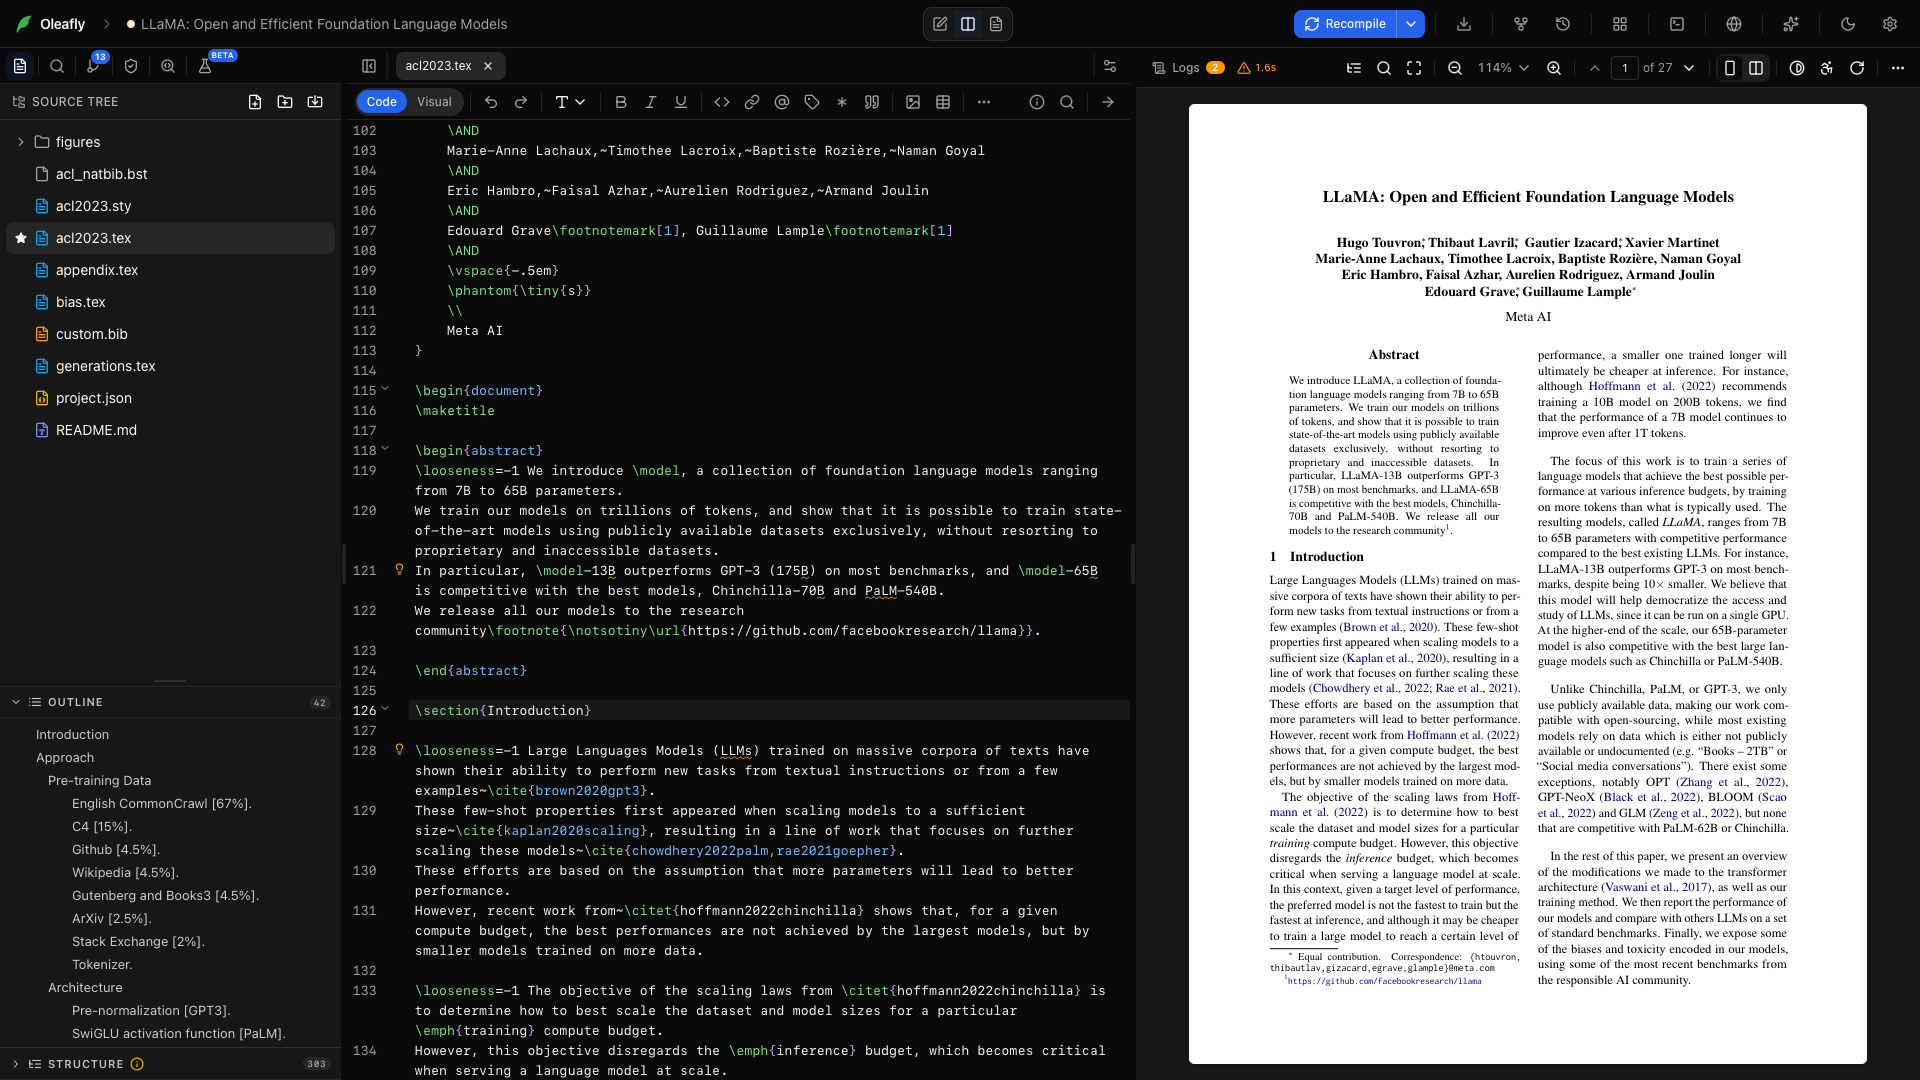
Section titled “Write and compile”Edit the source on the left. Press ⌘Enter on macOS or Ctrl+Enter on Windows and Linux. Your compiled PDF opens beside it.
On the built-in Tectonic engine, the first LaTeX build downloads the packages your document needs. Later builds reuse that cache. To compile new projects with your own TeX installation instead, see Set a default for new projects. If a build fails, open its diagnostic to reach the source line. Compiling explains the build controls and log.
In LaTeX, type \ for command suggestions or / for the insert menu. In Typst, / opens snippets. Try inserting a section, equation, or citation. LaTeX, Typst, and Markdown all offer a Code / Visual toggle for prose editing, and Draw a diagram on the editor toolbar opens the diagram composer in your document’s language.
Add a reference
Section titled “Add a reference”Open Add citation from the toolbar. Look up a DOI, arXiv identifier, or title, check the record, then insert it. Oleafly adds the bibliography entry and uses the citation syntax for your document format.
Check and export
Section titled “Check and export”Open Preflight to inspect the document before sharing. Use Export as PDF for the finished document or Export source (.zip) to send the project files.
Successful compiles also save checkpoints when automatic checkpoints are enabled. You can return to one later from Versioning.
Try an assistant
Section titled “Try an assistant”Connect a provider or CLI agent, then ask for something specific:
Shorten the abstract to 200 words. Keep the numerical results and citation keys unchanged. Show me the edits.
Use Ask for approval to review edits as the assistant works. For a larger job on a separate copy, create a research task.