
Writing in each language
Write in LaTeX
Build a paper from editable source, with a toolbar for structure, citations, equations, and figures.
Bu içerik henüz dilinizde mevcut değil.
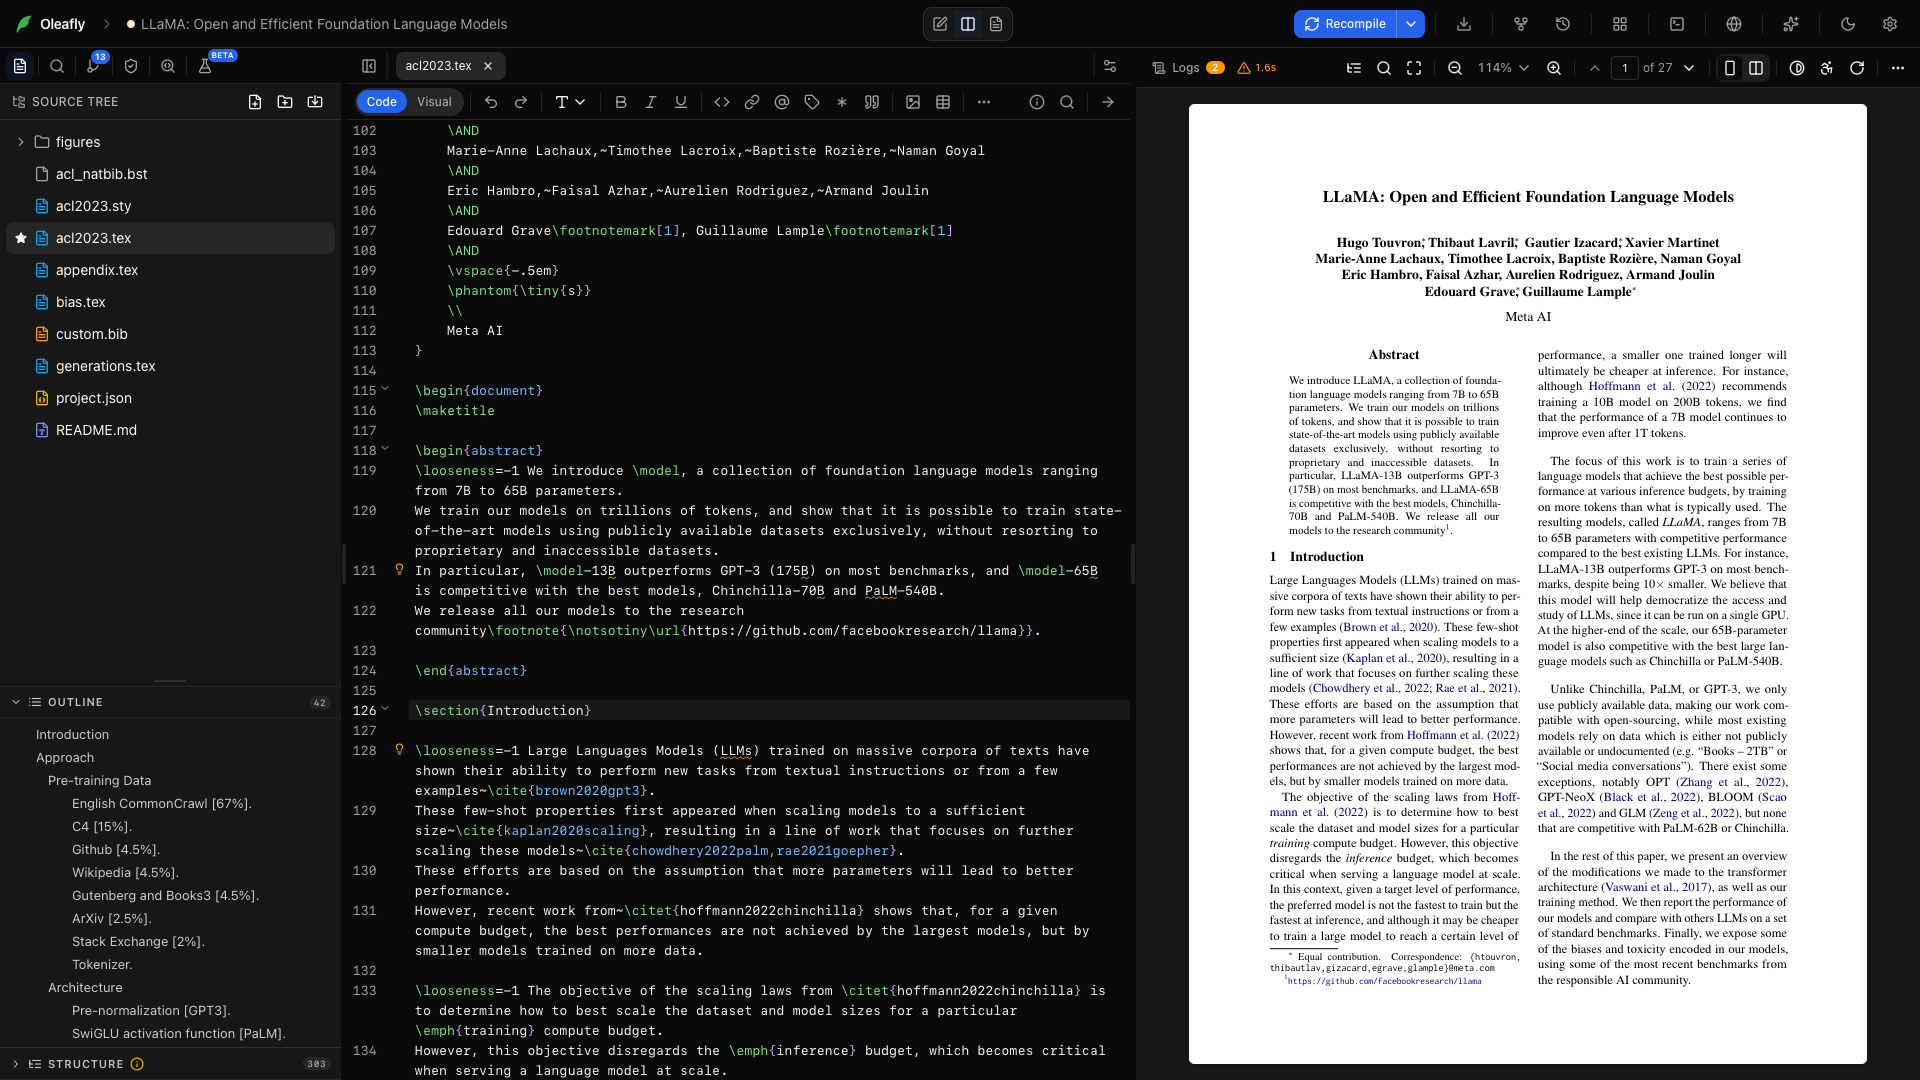
Start with a journal layout or a blank article. Write in the source editor, compile beside your text, and jump between a sentence and its place in the PDF.
Make your first page
Section titled “Make your first page”- From the library, choose New project → Use a template → Blank document.
- Name the project Toolbar practice and choose Create project.
- Open
main.tex. Replace its contents with the example below. - Choose Recompile, or press ⌘Enter on macOS / Ctrl+Enter on Windows and Linux.
\documentclass{article}\usepackage{amsmath,graphicx,hyperref}\title{A Small Research Note}\author{Alex Chen}\date{}\begin{document}\maketitle\section{Question}\label{sec:question}How does the sample size affect the estimate?\section{Method}We repeat the measurement and compare the mean.\begin{equation}\label{eq:mean} \bar{x}=\frac{1}{n}\sum_{i=1}^{n}x_i\end{equation}Equation~\ref{eq:mean} defines the estimate.\end{document}You should see a title, two sections, and a numbered equation. This example supplies the packages used by the equation, figure, and link tools below.
Find every toolbar control
Section titled “Find every toolbar control”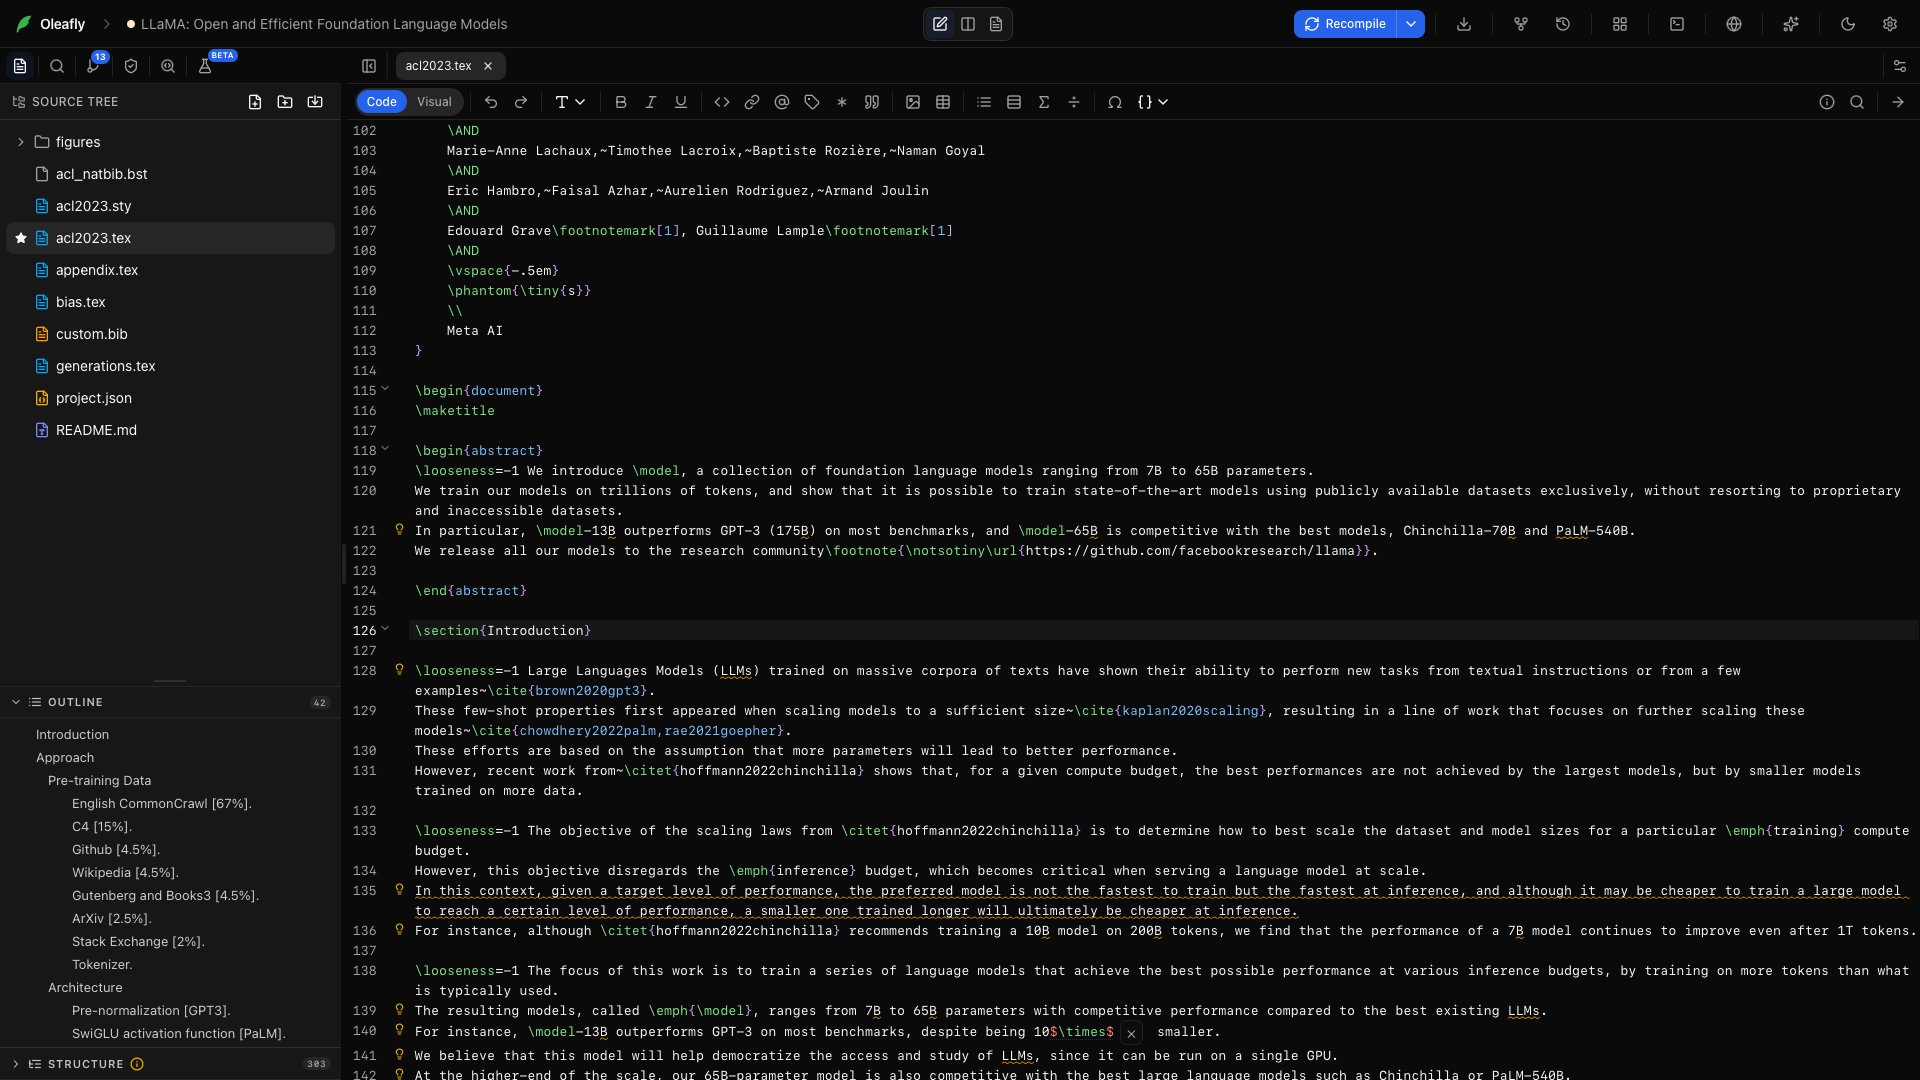
The formatting bar sits above the document. Select existing text to wrap it, or place the cursor where new content belongs. Most insertion tools select a placeholder so you can type over it immediately. Narrow panes move controls into More formatting options (…).
Code / Visual
Section titled “Code / Visual”Enable Visual editor in Settings → Experimentation, then switch modes above the document. Code exposes the source; Visual provides formatted editing for supported document structures.
Click the left curved arrow or press ⌘Z / Ctrl+Z. Reverses the last edit.
Click the right curved arrow or press ⌘Shift+Z / Ctrl+Shift+Z. Reapplies an undone edit.
Heading → Part
Section titled “Heading → Part”Choose Part from the heading menu to insert \part{Part}. Replace the heading text with your own title.
Heading → Chapter
Section titled “Heading → Chapter”Choose Chapter from the heading menu to insert \chapter{Chapter}. Replace the heading text with your own title. Use a chapter-based class such as report or book.
Heading → Section
Section titled “Heading → Section”Choose Section from the heading menu to insert \section{Section}. Replace the heading text with your own title.
Heading → Subsection
Section titled “Heading → Subsection”Choose Subsection from the heading menu to insert \subsection{Subsection}. Replace the heading text with your own title.
Heading → Subsubsection
Section titled “Heading → Subsubsection”Choose Subsubsection from the heading menu to insert \subsubsection{Subsubsection}. Replace the heading text with your own title.
Heading → Paragraph
Section titled “Heading → Paragraph”Choose Paragraph from the heading menu to insert \paragraph{Paragraph}. Replace the heading text with your own title.
Select “sample size” and click Bold or press ⌘B / Ctrl+B while editing. \textbf{sample size}.
Italic
Section titled “Italic”Select a term and click Italic or press ⌘I / Ctrl+I. \textit{term}.
Underline
Section titled “Underline”Select text and click Underline. \underline{text}.
Inline code
Section titled “Inline code”Select a filename or identifier and click the code icon. \texttt{filename}.
Bulleted list
Section titled “Bulleted list”Choose Bulleted list to insert an itemize environment. Type each entry after \item. Enter continues the list; Enter on an empty item exits it.
Numbered list
Section titled “Numbered list”Choose Numbered list to insert an enumerate environment. Add each step after \item; LaTeX supplies its number when compiled.
Insert blockquote
Section titled “Insert blockquote”Place the cursor on a new line and click the quote icon. A quote environment for an attributed quotation.
Insert link
Section titled “Insert link”Click the link icon, replace url, and then replace link text. \href{url}{link text}; load hyperref in the preamble.
Citations
Section titled “Citations”Open the citation picker, search your project bibliography, and choose the entry you want. A citation using the selected bibliography key. Add sources in References & citations first.
Insert cross-reference
Section titled “Insert cross-reference”Click the tag icon and replace label with eq:mean in the practice document. \ref{eq:mean}, which resolves to the equation number after compilation.
Insert footnote
Section titled “Insert footnote”Place the cursor after a word and click the footnote icon. \footnote{note text}; replace the note text.
Put a \label{...} after a section heading, equation, or figure caption, then refer to that exact label. Completion and hover previews help you find the target without leaving the sentence.
Insert figure
Section titled “Insert figure”Import an image into the file tree, click the image icon, and replace image-filename with its project path. Edit the caption and label. A centered figure with \includegraphics[width=0.8\textwidth]{...}.
Insert table
Section titled “Insert table”Open the table grid and choose rows and columns. Fill the caption and cells. A table containing a left-aligned tabular; separate cells with & and rows with \\.
Image to LaTeX
Section titled “Image to LaTeX”With a vision-capable AI setup available, click the image transcription button and choose a screenshot of an equation or text. AI transcribes the image into LaTeX. Check the inserted expression and compile it.
Align environment
Section titled “Align environment”Insert on a new line; write one equation per row with & at the alignment point and \\ between rows. An align environment; load amsmath.
Equation environment
Section titled “Equation environment”Insert on a new line and type an expression between its begin and end lines. A numbered display equation.
Fraction
Section titled “Fraction”Use inside math; replace the selected numerator, then the denominator. \frac{numerator}{denominator}.
Symbols
Section titled “Symbols”Open the symbol picker, find the symbol, and select it. Inserts its LaTeX command at the cursor. Use mathematical symbols inside a math environment.
For a quick table, choose two columns and three rows, then use the caption Measurements and cells Run & Value, 1 & 0.42, and 2 & 0.47. Compile to check the placement. For a larger dataset, use the table generator.
Code intelligence → Go to definition
Section titled “Code intelligence → Go to definition”Put the cursor on a supported command, reference, or citation and choose the action. Opens its definition or source location.
Code intelligence → Find references
Section titled “Code intelligence → Find references”Put the cursor on a project symbol. Lists locations that use it.
Code intelligence → Rename symbol
Section titled “Code intelligence → Rename symbol”Select a supported symbol and enter its new name. Prepares a coordinated rename across matching project references.
Project information
Section titled “Project information”Open the information button at the right of the bar. Inspect document statistics; selecting prose lets you inspect the selection.
Click the magnifier in Code mode or press ⌘F / Ctrl+F. Search the current file. Use the sidebar’s Search Project for multiple files.
Go to PDF (SyncTeX)
Section titled “Go to PDF (SyncTeX)”Place the cursor in the source and click the arrow when the engine supports it. Jumps to the matching location in the compiled PDF.
Code intelligence explains the language tools; SyncTeX covers navigation in both directions.
Write a longer manuscript
Section titled “Write a longer manuscript”Keep the main file small and split sections into files such as sections/method.tex. Include them with \input{sections/method}. The source tree, outline, search, and completion keep those files connected while you work.
Use the bibliography guide to add references and the figure guide for plots and diagrams. When a build fails, open Logs, follow the file and line, and fix the first relevant error before recompiling.
Share the result
Section titled “Share the result”Compile, inspect the PDF, and run Preflight. Export the PDF for reading or a source ZIP for a collaborator who needs to edit. Export formats also covers Word, HTML, Markdown, and document-specific conversions.
Editor-only layout
Section titled “Editor-only layout”Choose Editor only from the project layout menu when you want more room for source. The formatting tools stay above the document, and you can return to a split layout for the next compile.