
Settings & customization
Appearance & themes
Set up the app, editor, terminal, browser, and PDF view for the way you work.
यह कंटेंट अभी तक आपकी भाषा में उपलब्ध नहीं है।
Open Settings → Appearance. Choose the tab for the part of the workspace you want to change. Changes take effect locally; they do not alter the formatting of your exported document.
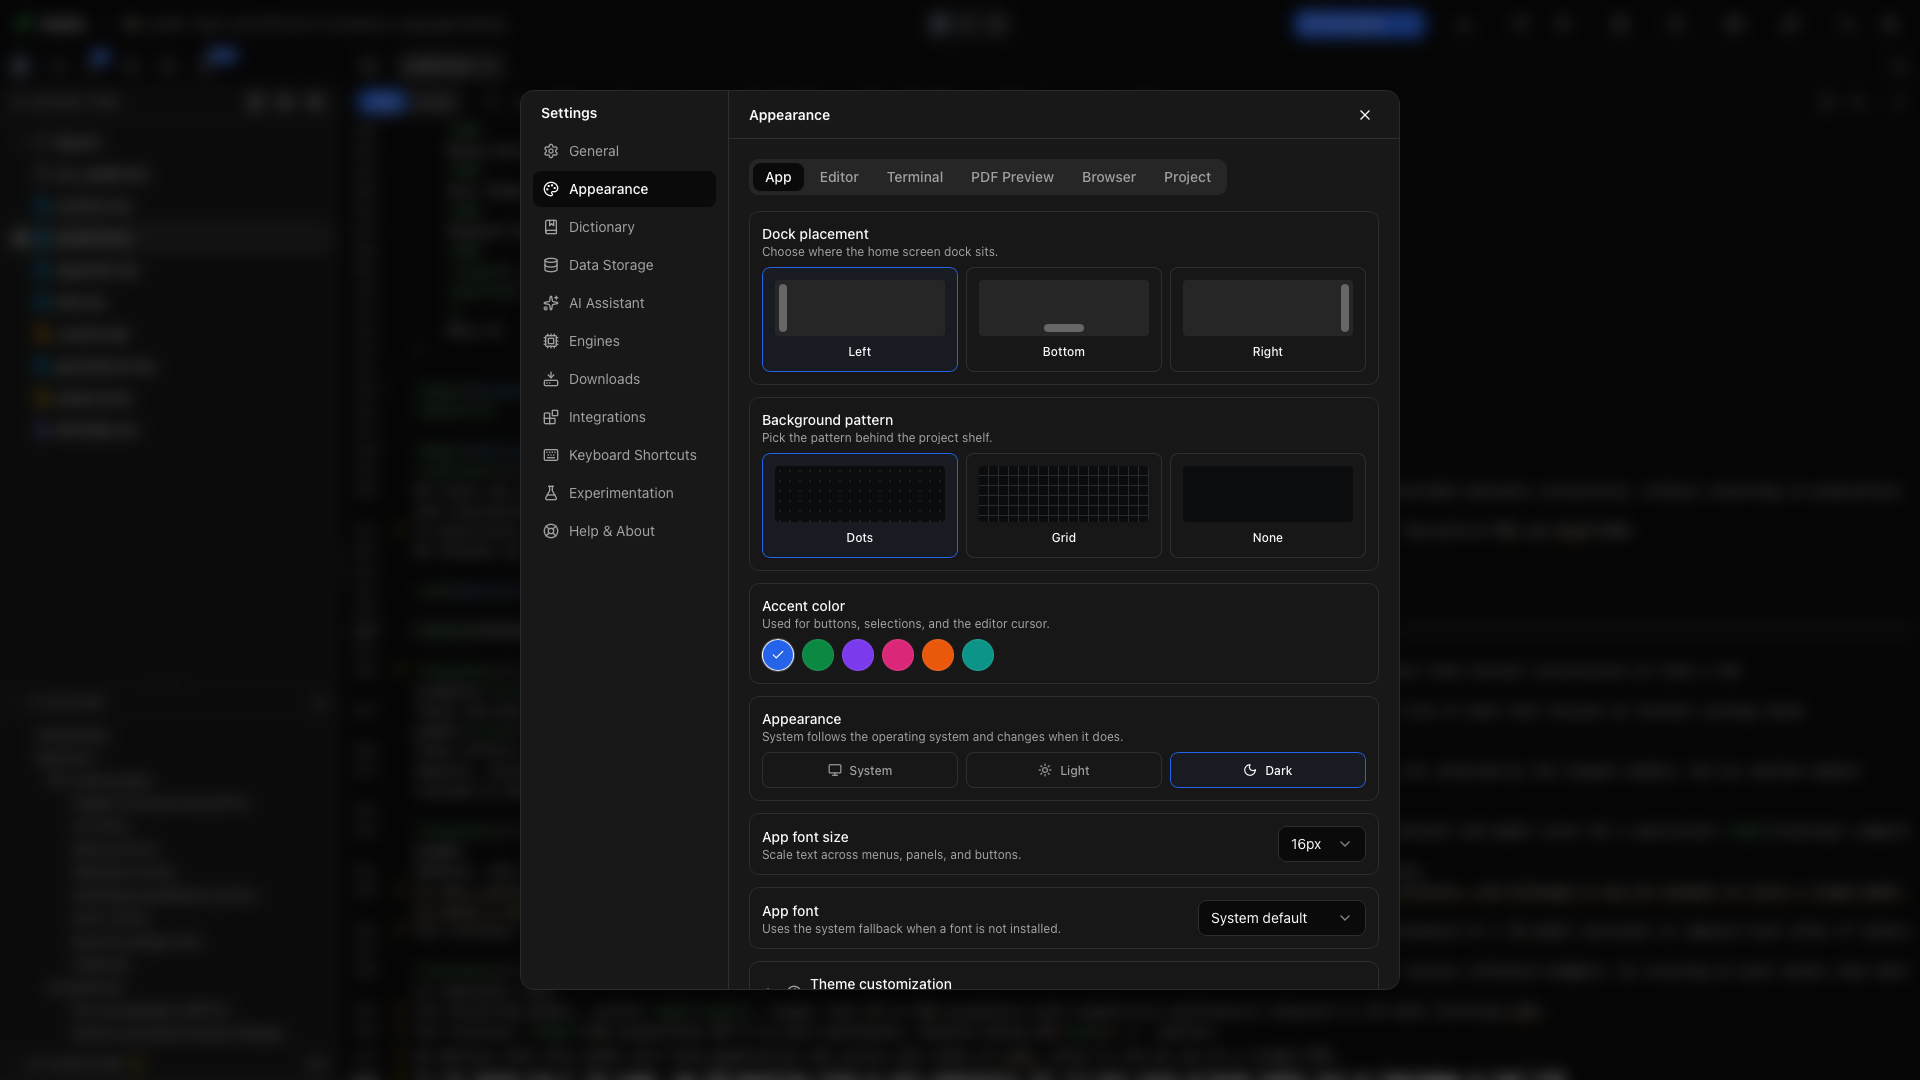
Dock placement
Section titled “Dock placement”In the App tab, choose Left, Bottom, or Right. This moves the home-screen dock containing New project, search, tools, and Settings. Try Bottom when you want the library to use the full width between its margins.
Background pattern
Section titled “Background pattern”Choose Dots, Grid, or None for the project library background. None gives the shelf a plain background; the document editor keeps its own theme.
Accent color
Section titled “Accent color”Choose a color swatch to change the app’s selection and action accents. This changes interface colors; a figure’s colors and a document’s LaTeX or Typst styles stay under your control in the source.
Appearance mode
Section titled “Appearance mode”Choose the app’s light or dark appearance. The appearance button in the main toolbar is a quicker way to switch while working. Choose the editor theme separately if you prefer a different source palette.
App font size
Section titled “App font size”Use App font size to enlarge or reduce interface labels. Check the sidebar and menus after changing it. For larger source text, use Editor font size instead.
App font
Section titled “App font”Choose the font used by the app’s interface. This does not change the font compiled into a PDF. Document fonts belong in the template or manuscript source.
Editor font size
Section titled “Editor font size”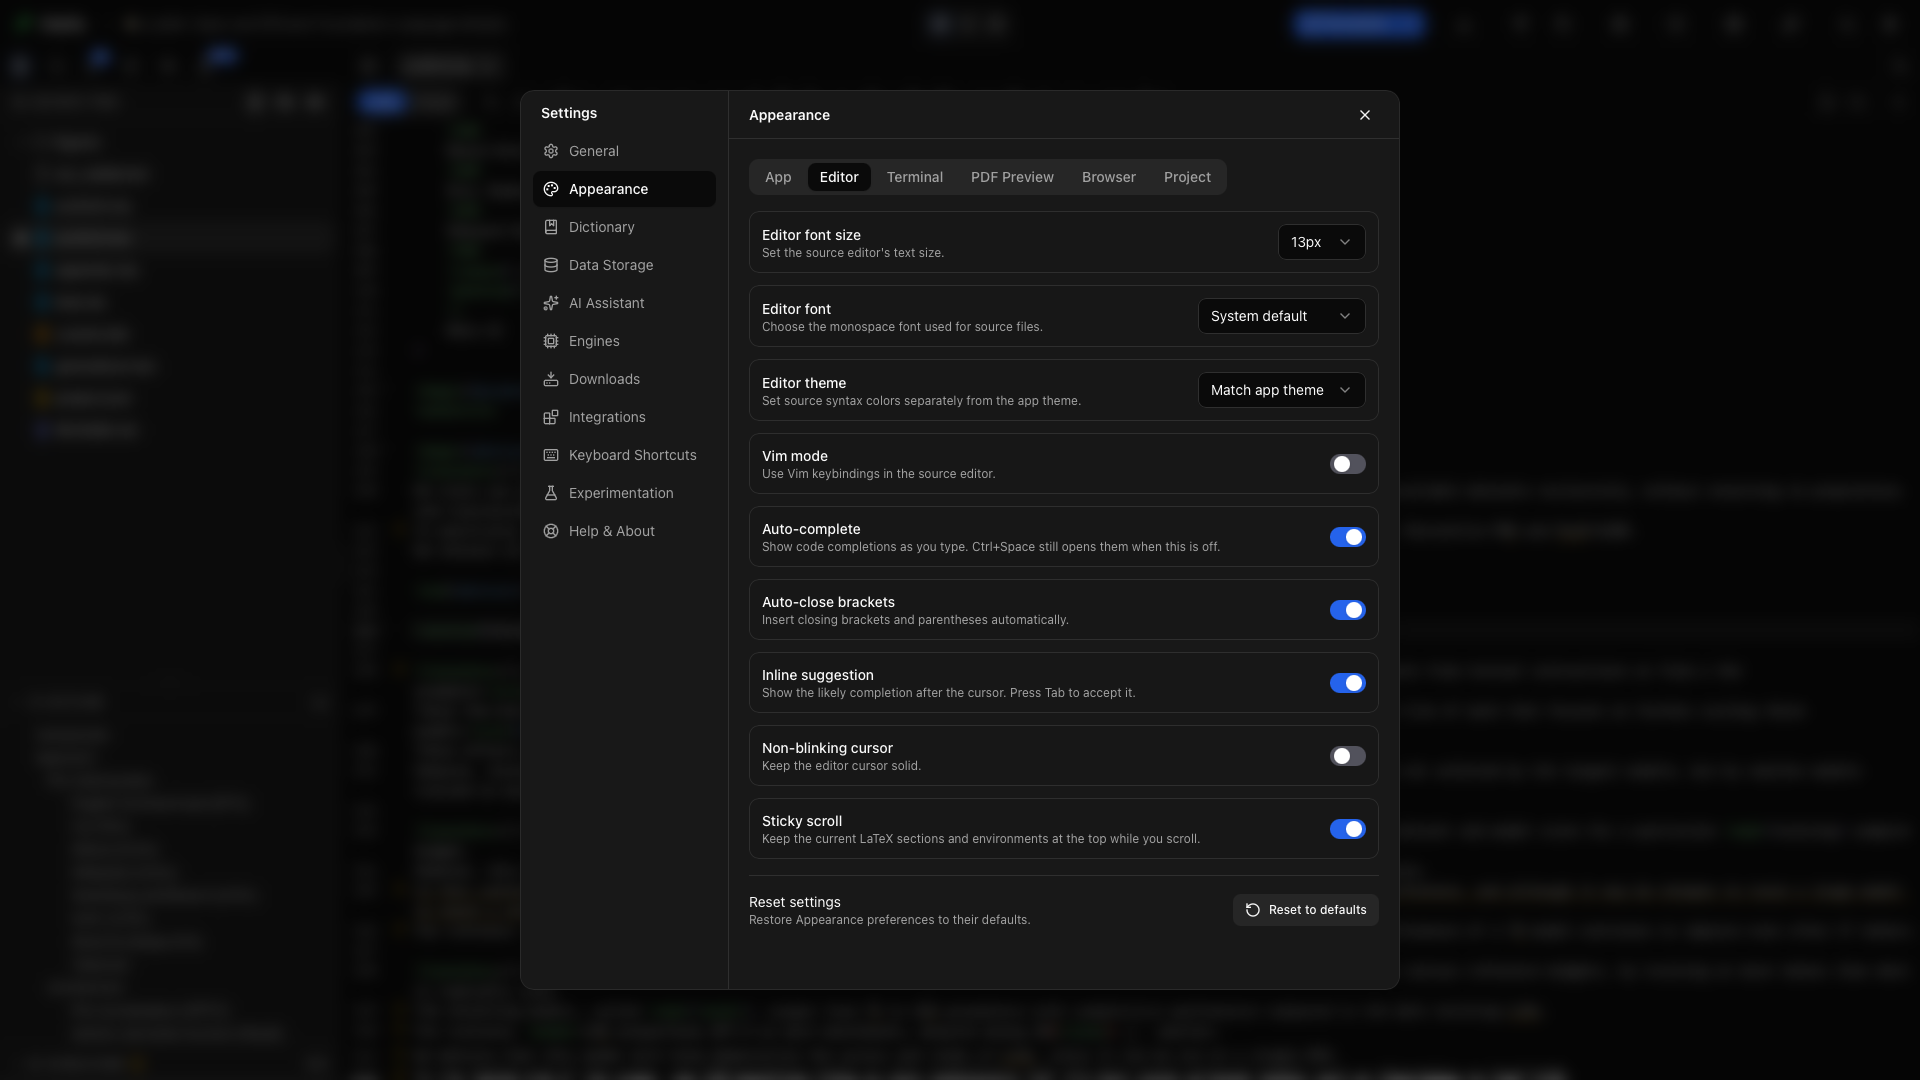
Open the Editor tab and choose 11, 12, 13, 14, 15, 16, 18, or 20 px. For a screen-sharing demonstration, try 18 px and Layout → Editor Only so the toolbar and source remain readable.
Editor font
Section titled “Editor font”Choose a monospace font for source files. Return to the default entry to restore the app’s default source font. This setting affects .tex, .typ, .md, and other text files in the editor.
Editor theme
Section titled “Editor theme”Select the source syntax-color theme. It can differ from the app theme, so you can keep a dark source pane while using a light interface. Inspect prose, comments, commands, and selected text when choosing a theme.
Vim mode
Section titled “Vim mode”Enable Vim mode to use Vim keybindings in the source editor. Press i to enter Insert mode and Esc to return to Normal mode. Turn it off to return to ordinary editor bindings.
Auto-complete
Section titled “Auto-complete”Enable Auto-complete to show suggestions while you type. With it off, press Ctrl+Space when you want the completion list. See Autocomplete for citations, commands, paths, and symbols.
Auto-close brackets
Section titled “Auto-close brackets”Enable Auto-close brackets to insert matching closing brackets and parentheses as you type an opening character. Try typing ( in a source file: the cursor stays between the pair so you can enter the contents.
Inline suggestion
Section titled “Inline suggestion”Enable Inline suggestion to show the likely completion after the cursor. Press Tab to accept a visible suggestion. This is an editor completion control; connecting a model is a separate step under AI Assistant.
Non-blinking cursor
Section titled “Non-blinking cursor”Enable Non-blinking cursor to keep the editor caret solid. This can make the insertion point easier to follow while reading or presenting source code.
Sticky scroll
Section titled “Sticky scroll”Enable Sticky scroll to keep the current LaTeX sections and environments at the top of the source pane as you scroll. Use it in a long methods section to retain the surrounding structure without jumping back to the heading.
Terminal font size
Section titled “Terminal font size”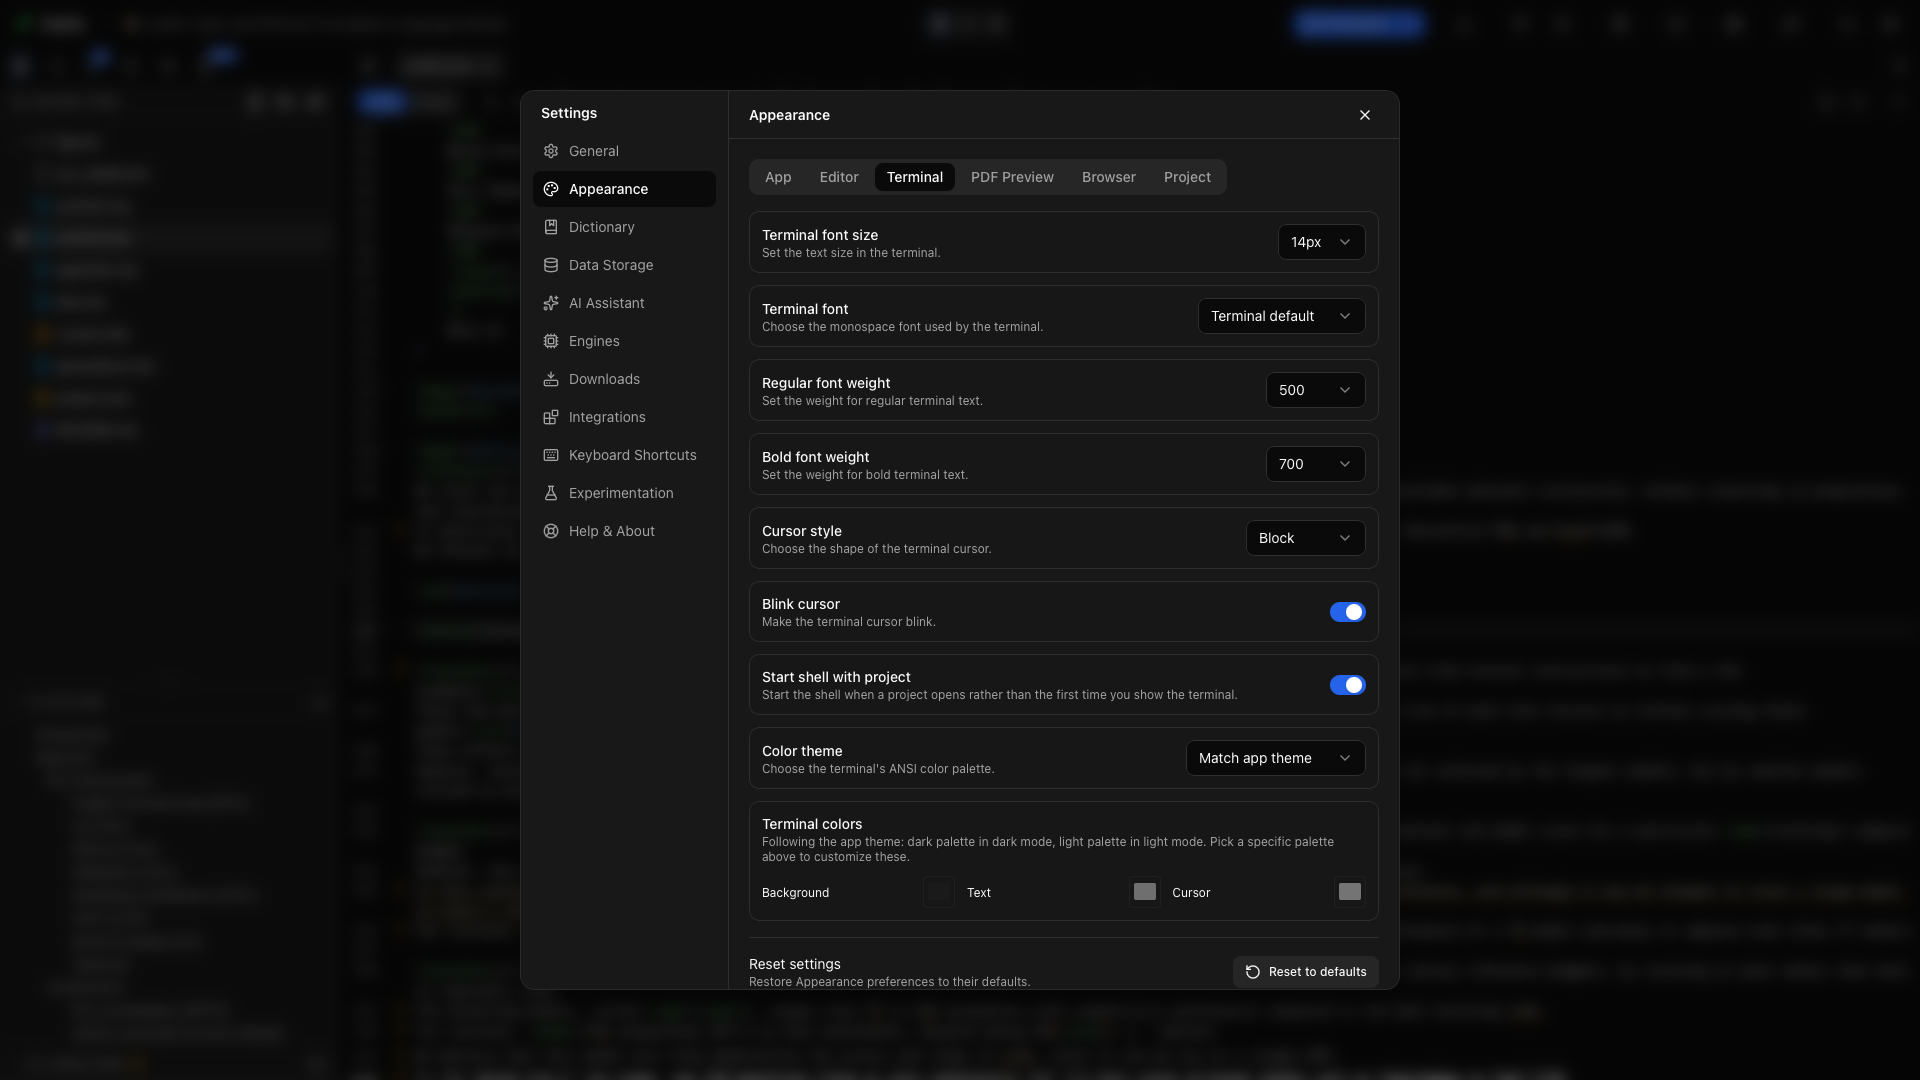
In the Terminal tab, choose the size of shell input and output. Increase it before sharing a command demonstration; it does not affect the document editor.
Terminal font
Section titled “Terminal font”Choose the terminal’s monospace font. Use a font with clear punctuation when reading compiler paths and shell commands.
Regular font weight
Section titled “Regular font weight”Set the weight used for ordinary terminal text. Compare a few lines of output before choosing a heavier weight, especially on a dark background.
Bold font weight
Section titled “Bold font weight”Set the weight for terminal output that requests bold text. This can differ from the regular weight so headings and command diagnostics remain distinct.
Cursor style
Section titled “Cursor style”Choose the terminal cursor shape from Cursor style. The control affects the shell caret, not the editor caret.
Blink cursor
Section titled “Blink cursor”Enable Blink cursor to animate the terminal caret. Turn it off for a steady terminal insertion point.
Start shell with project
Section titled “Start shell with project”Enable Start shell with project to start the shell when you open a project. With it off, the shell starts when you first show the terminal. Use the latter if you rarely need command-line work.
Terminal color theme
Section titled “Terminal color theme”Choose a terminal color theme, or let it follow the app. Open a terminal with a few lines of output to compare command text, errors, and the cursor.
Terminal background color
Section titled “Terminal background color”Use the background picker under Terminal colors to choose the terminal surface. Pair it with a foreground color that remains readable.
Terminal foreground color
Section titled “Terminal foreground color”Choose the default text color for terminal output. Programs can still emit their own ANSI colors.
Terminal cursor color
Section titled “Terminal cursor color”Choose a cursor color that stands out from both the background and text. This is useful when the shell prompt contains several colors.
Default search engine
Section titled “Default search engine”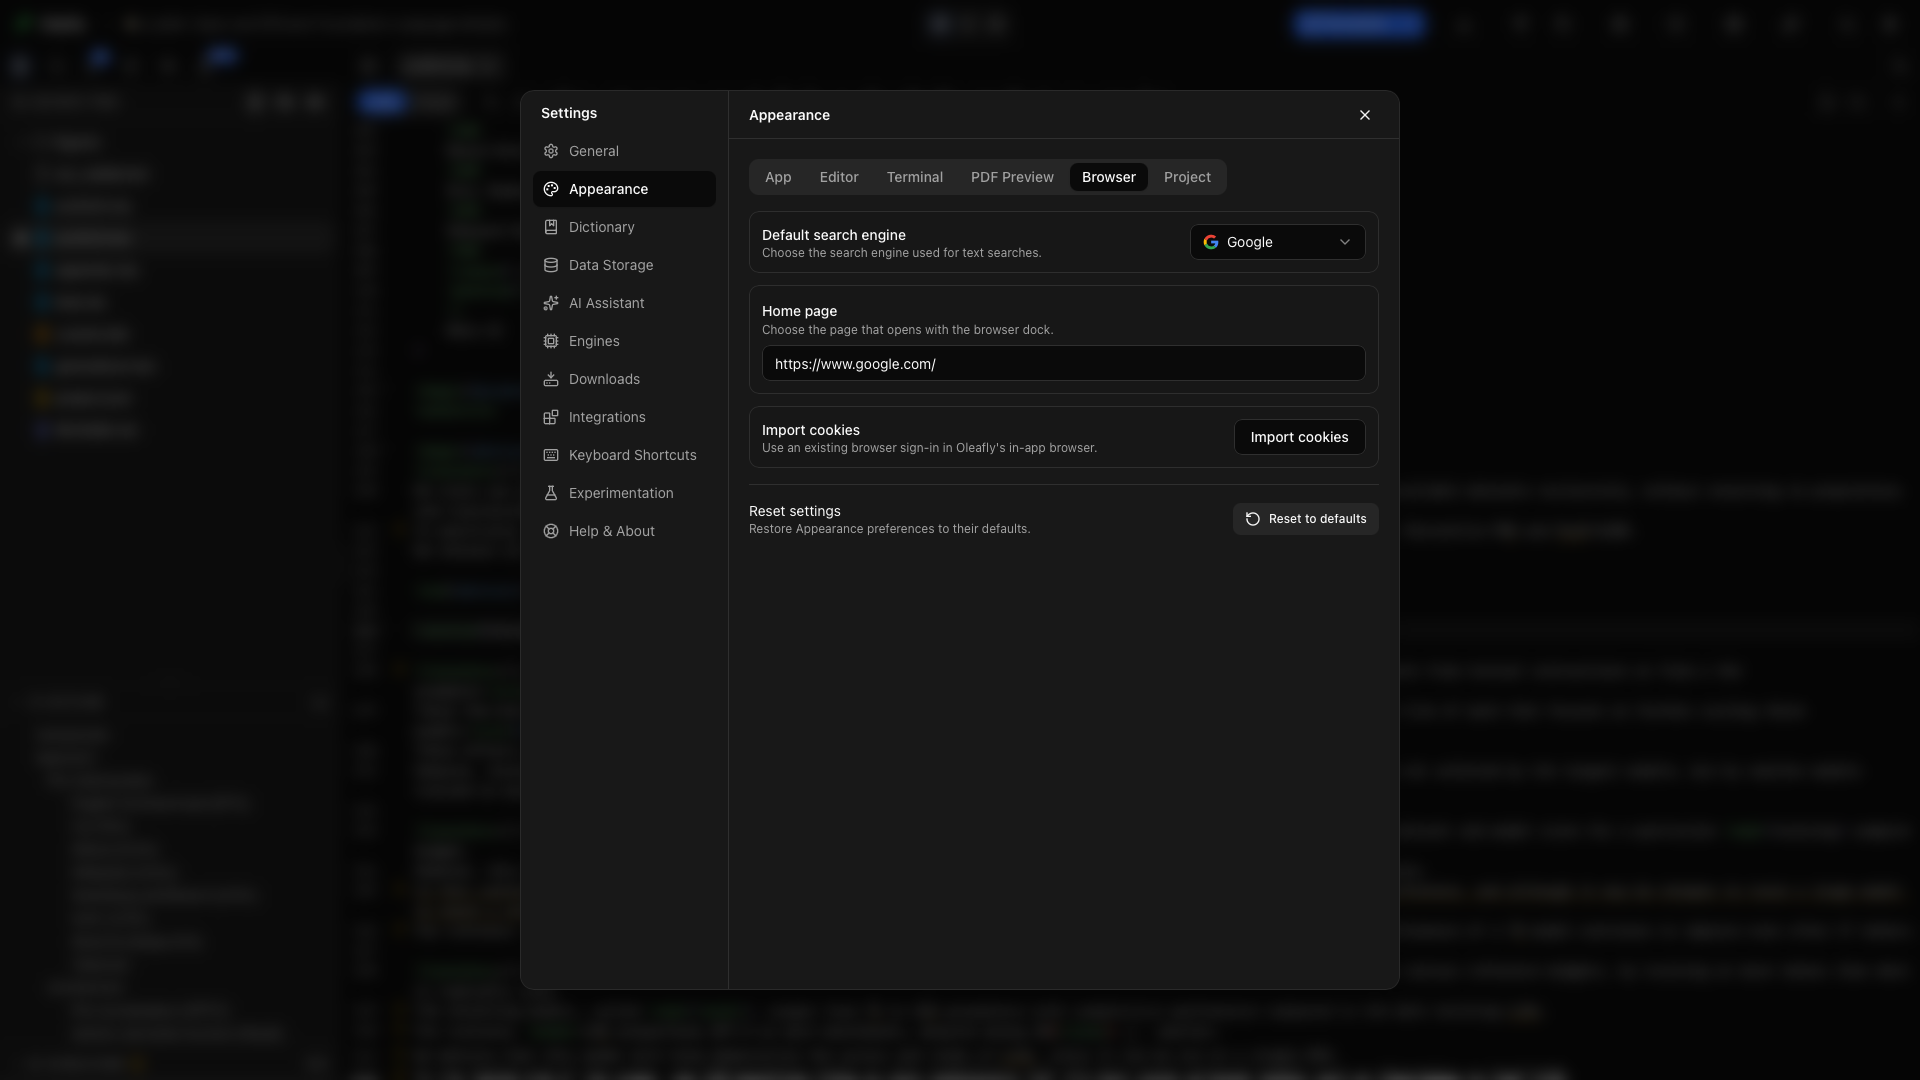
In the Browser tab, choose the service used when you type a search query into Oleafly’s browser address bar. A complete URL navigates to that address instead.
Browser home page
Section titled “Browser home page”Enter the page you want the browser to use as its home. For a research session, this might be a journal portal or your institution’s public library page. The browser’s own menu can also use the current page as home.
Browser cookies
Section titled “Browser cookies”The browser settings include cookie import. Choose the source browser and the sites you need rather than importing unrelated browsing state. Imported cookies affect sign-in inside Oleafly’s browser.
PDF dark mode
Section titled “PDF dark mode”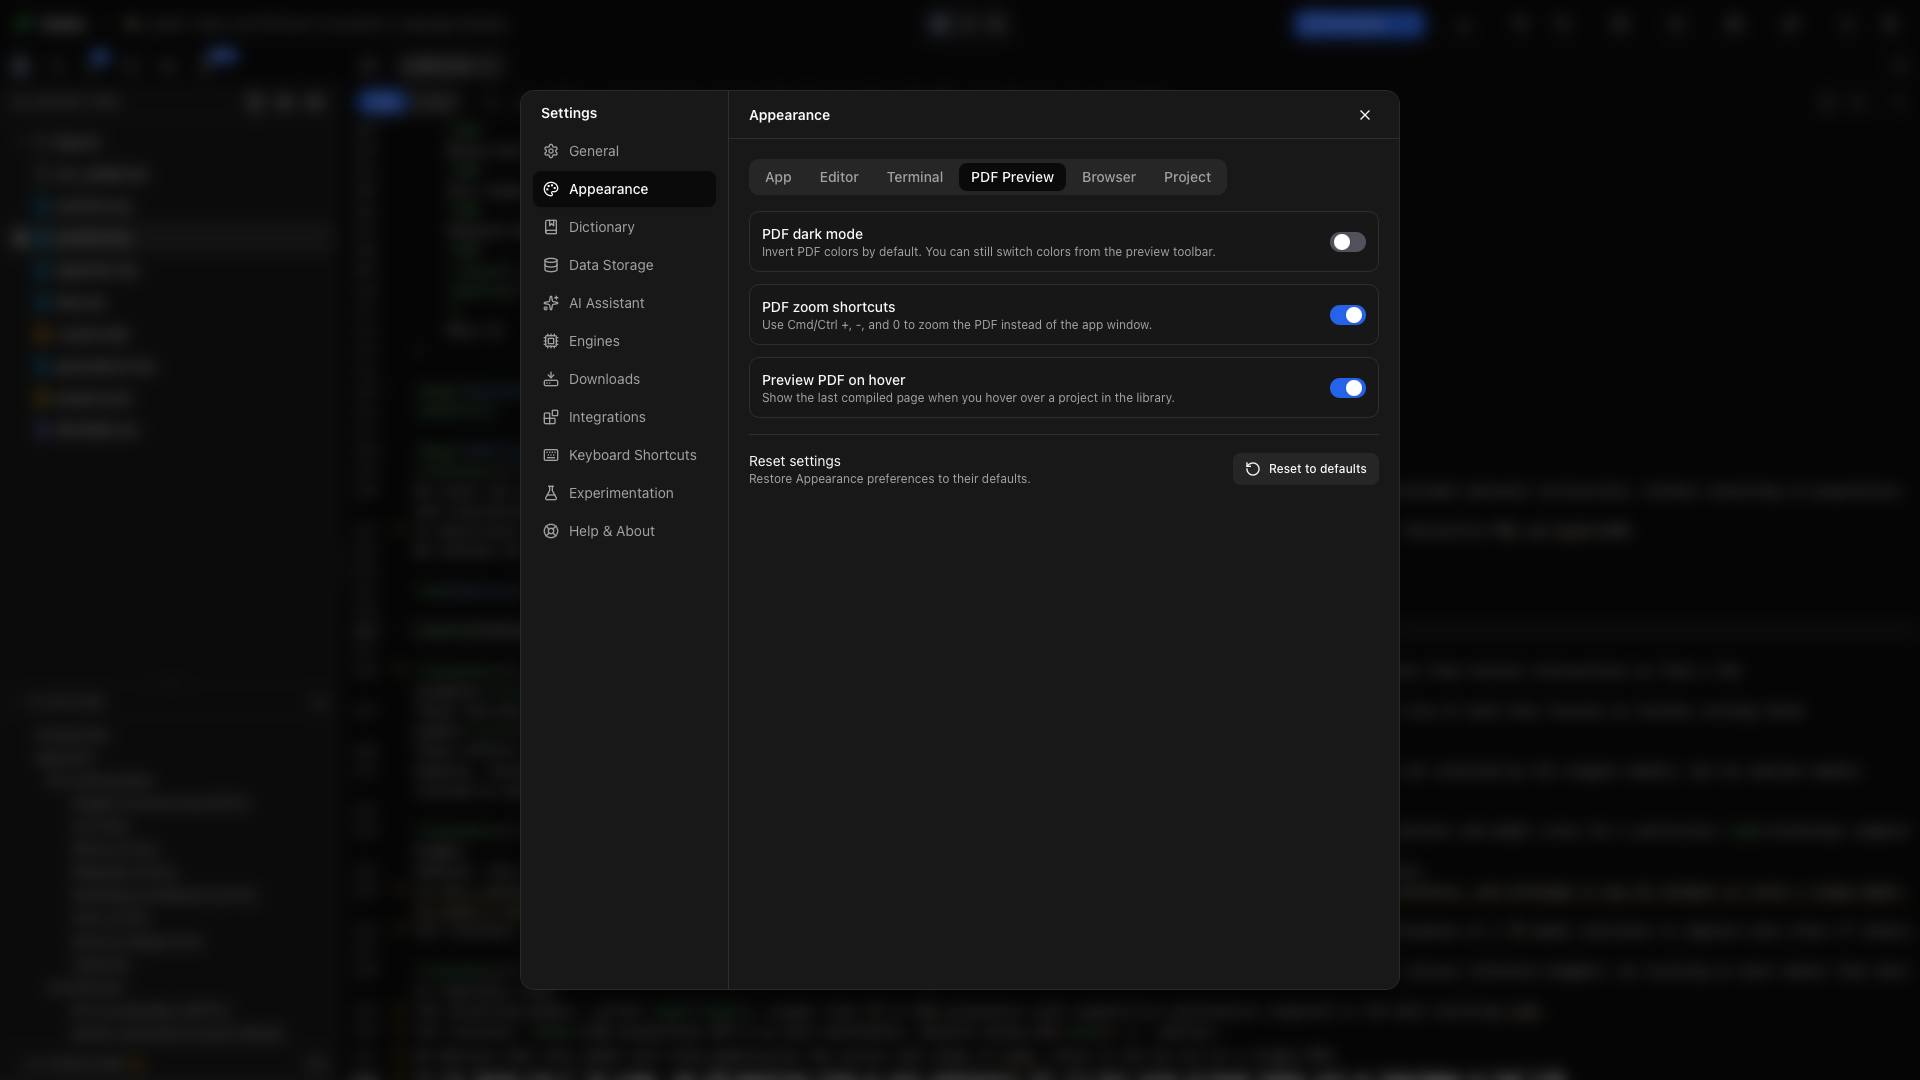
In the PDF tab, enable PDF dark mode to invert preview colors by default. This changes the display, not the exported PDF. You can toggle it for the current view from the PDF toolbar.
PDF zoom shortcuts
Section titled “PDF zoom shortcuts”Enable PDF zoom shortcuts to route ⌘/Ctrl +, ⌘/Ctrl -, and ⌘/Ctrl 0 to the preview instead of the app window. Use the zoom menu to fit a page to width or height.
Preview PDF on hover
Section titled “Preview PDF on hover”Enable Preview PDF on hover to show the most recent compiled page when you hover over a project in the library. Compile a document first so the shelf has a page to display.
Default home view
Section titled “Default home view”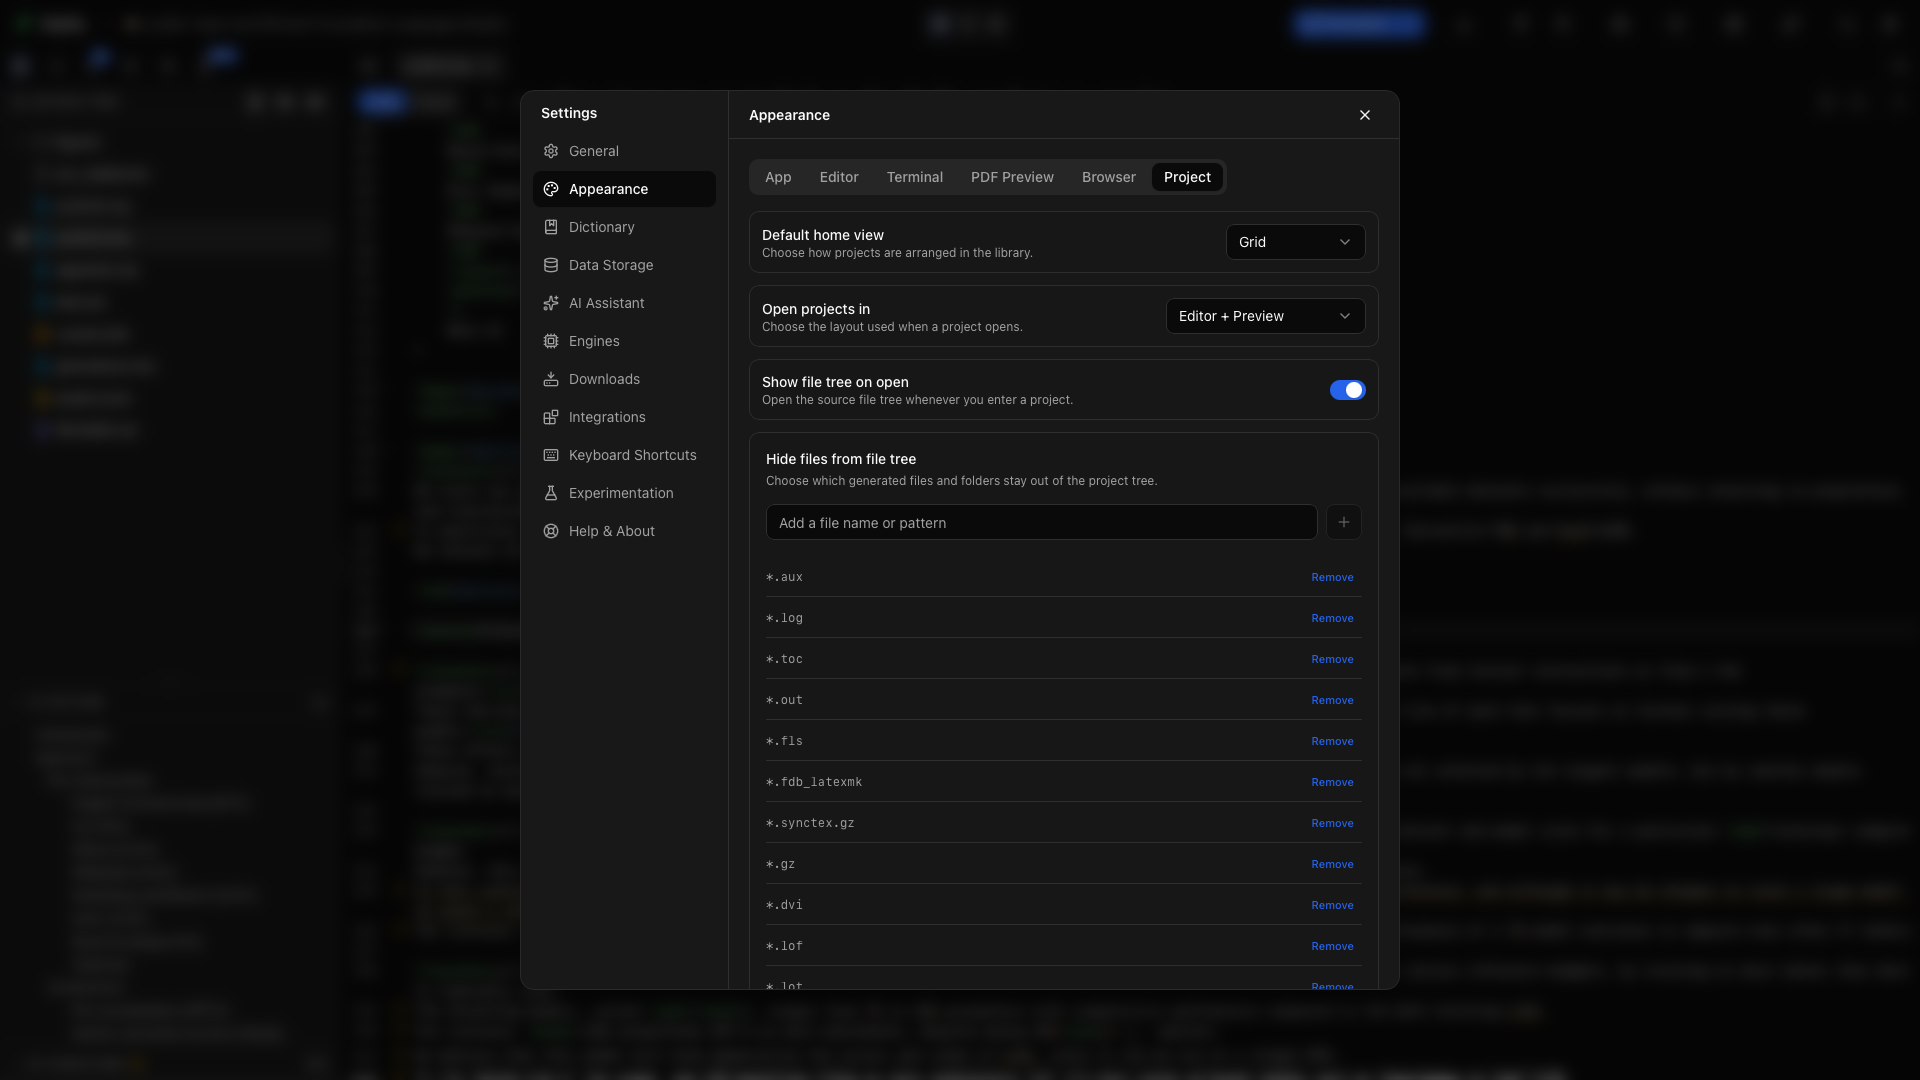
Choose whether the library opens as a grid or a list. The grid emphasizes covers and previews; the list makes project names easier to scan.
Open projects in
Section titled “Open projects in”Choose the initial source, split, or PDF view. This is the starting arrangement when you enter a project. The project toolbar can change it while you work.
Show file tree on open
Section titled “Show file tree on open”Enable this to open the source tree with each project. Turn it off for more writing space, then use the Source Tree button when you need a file.
Hidden files
Section titled “Hidden files”Enter a filename or pattern and choose Add to hide matching entries from the source tree. For example, hide an auxiliary filename that distracts from the manuscript. Remove its chip to show it again. Hiding a file does not delete it.
Theme customization
Section titled “Theme customization”Open Theme customization, choose the light or dark mode to edit, and change individual color tokens. The two modes have separate values. Inspect text, selection, panels, and buttons after a change.
Corner radius
Section titled “Corner radius”Enter a CSS length such as 8px, 0.5rem, or 1em. Clear the value to use the default. This adjusts the app’s component corners.
Scoped CSS declarations
Section titled “Scoped CSS declarations”Enter declarations only, such as a supported custom-property value. The field does not accept complete CSS rules, imports, or URLs. Invalid values are reported instead of applied.
Import and export a theme
Section titled “Import and export a theme”Use the theme’s export action to save a reusable theme file. Import a theme file to apply its supported settings. Use the reset control to restore the defaults for the customization surface.
Try a writing setup
Section titled “Try a writing setup”Set the source text to 16 px, enable Sticky scroll, open a long LaTeX document, and choose Layout → Editor + Preview. Drag the divider until the source lines are comfortable to read. Compile and choose Fit to width in the preview. Save the document’s typography in its source; use Appearance for your own reading environment.
Reset to defaults
Section titled “Reset to defaults”Choose Reset to defaults at the bottom of Appearance to restore its preferences. Review the confirmation before applying the reset.